basic

Correct tire pressure

Set cold tire pressure from the vehicle placard—not the tire sidewall.

10–20 min2 toolstires

Tools

  • Accurate tire-pressure gauge
  • Compatible air source

Parts and supplies

  • Valve caps if missing

Before starting

  • Tires are cold: parked about three hours or driven less than 2 km
  • Door-jamb placard is readable
Visual procedure

One step at a time

Realistic views show the component and hand action for each step. Exact layout varies by vehicle, so always confirm access in the applicable manual.
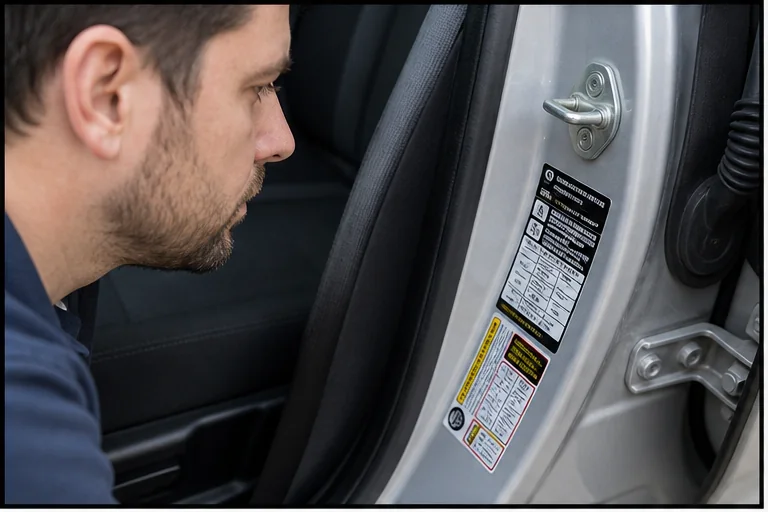
Read the placard. Representative view · exact vehicle may differ.
Representative view · exact vehicle may differ
STEP 1

Read the placard

Find the driver-door or door-jamb tire placard and record the front and rear cold pressures and units.
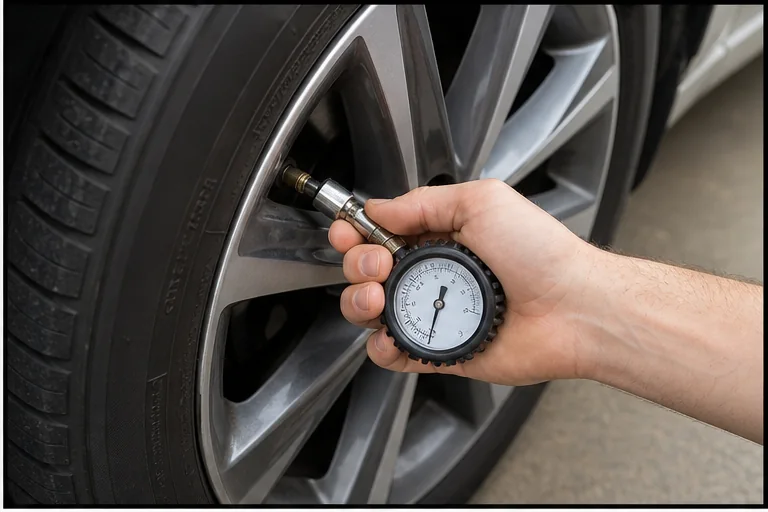
CheckpointThe value comes from the vehicle placard for the installed tire size.
Measure cold pressure. Representative view · exact vehicle may differ.
Representative view · exact vehicle may differ
STEP 2

Measure cold pressure

Remove one valve cap, press the gauge squarely onto the valve and record the reading.
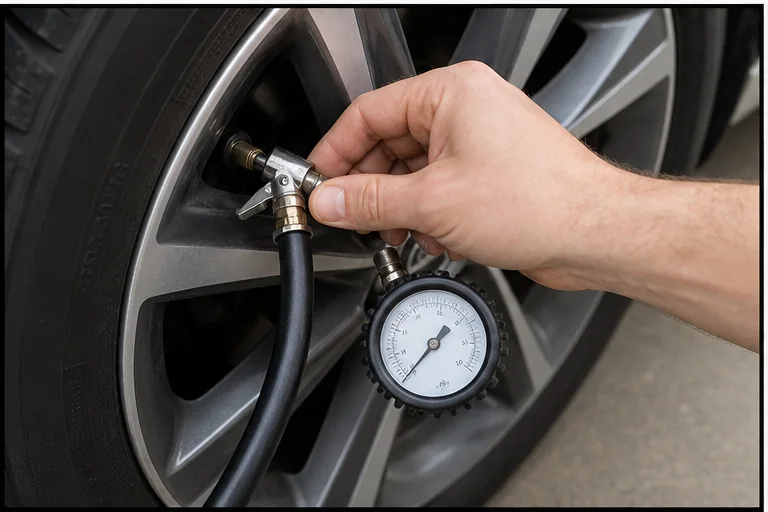
CheckpointThe reading is stable and the valve is not hissing after the gauge is removed.
Adjust gradually. Representative view · exact vehicle may differ.
Representative view · exact vehicle may differ
STEP 3

Adjust gradually

Add short bursts of air or release small amounts, measuring again after each adjustment.
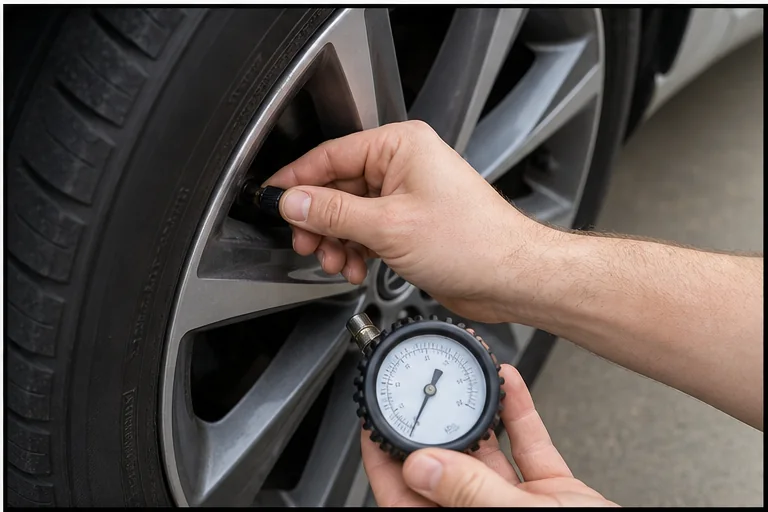
CheckpointEach tire matches its placard position; front and rear targets may differ.
Finish and monitor. Representative view · exact vehicle may differ.
Representative view · exact vehicle may differ
STEP 4

Finish and monitor

Reinstall valve caps. If the TPMS requires a model-specific calibration, follow the owner manual.

CheckpointRecheck a previously low tire within 24–48 hours for continued loss.

Post-repair verification

  • All four cold readings match the placard
  • No valve leaks are audible
  • TPMS response follows the owner manual