advanced

Replace an owner-serviceable exterior bulb

Replace only a bulb the owner manual identifies as serviceable without removing safety-critical assemblies.

20–60 min3 toolselectrical

Tools

  • Gloves
  • Flashlight
  • Documented hand tools

Parts and supplies

  • Exact bulb type and wattage

Before starting

  • The lamp is confirmed owner-serviceable
  • Circuit is off and lamp is cool
Visual procedure

One step at a time

Realistic views show the component and hand action for each step. Exact layout varies by vehicle, so always confirm access in the applicable manual.
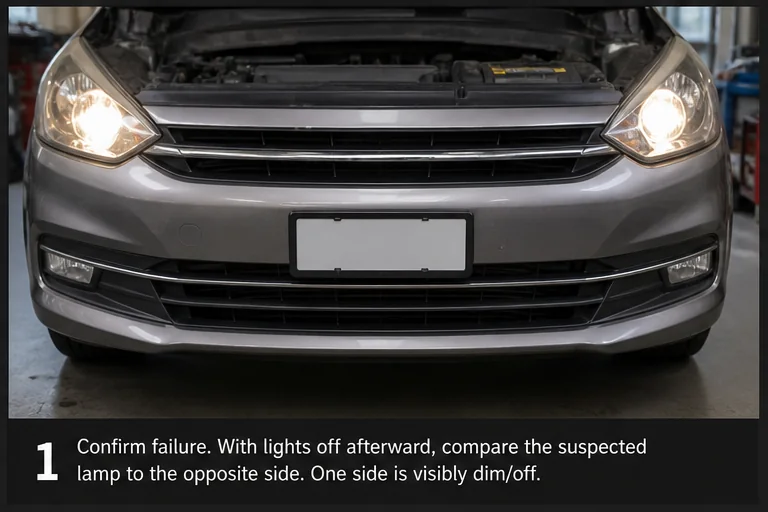
Confirm the failed function. Representative view · exact vehicle may differ.
Representative view · exact vehicle may differ
STEP 1

Confirm the failed function

Check the exact lamp function, opposite side and relevant warning before buying a bulb.
CheckpointThe fault is not a whole-circuit, connector or control problem.
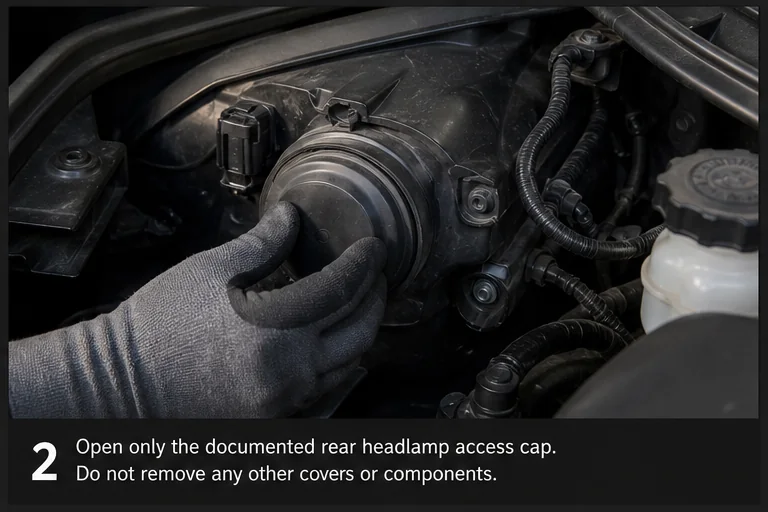
Open documented access. Representative view · exact vehicle may differ.
Representative view · exact vehicle may differ
STEP 2

Open documented access

Switch lighting off and use only the access cover and removal direction in the owner manual.
CheckpointNo bumper, airbag, HV or sealed assembly is disturbed.
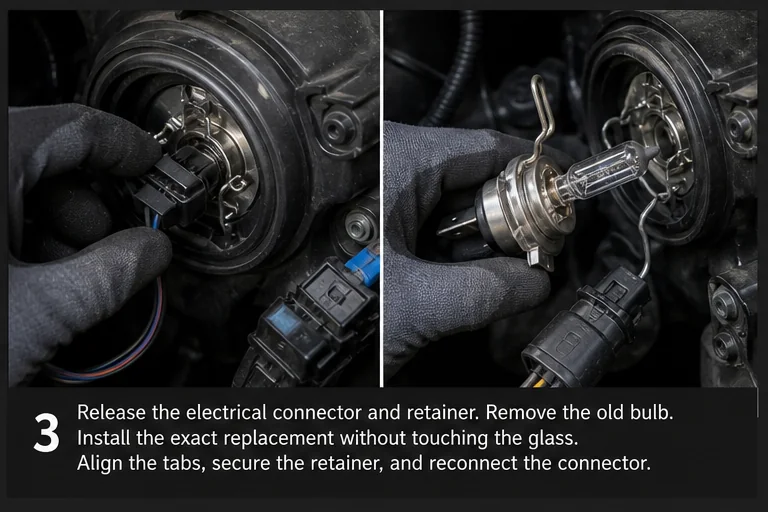
Install the exact bulb. Representative view · exact vehicle may differ.
Representative view · exact vehicle may differ
STEP 3

Install the exact bulb

Release the connector and retainer, keep glass clean, align tabs and lock the replacement without force.
CheckpointSeal, retainer and connector are fully seated.
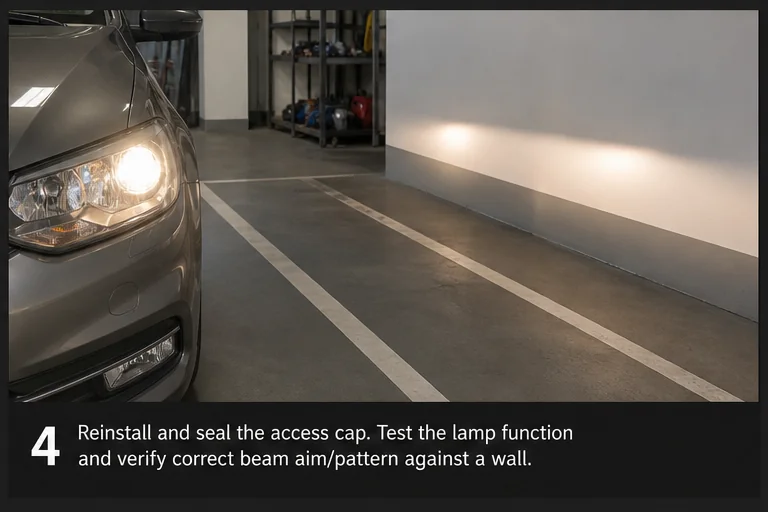
Test and aim boundary. Representative view · exact vehicle may differ.
Representative view · exact vehicle may differ
STEP 4

Test and aim boundary

Test every affected function. If an assembly was moved or beam aim changed, arrange proper aiming.

CheckpointNo condensation, flicker or warning remains.

Post-repair verification

  • Correct brightness and function
  • Access cover seals
  • Beam aim remains safe