advanced

Replace a documented low-voltage fuse

Replace one confirmed blown fuse with the identical type and rating, then stop if it fails again.

15–30 min3 toolselectrical

Tools

  • Owner-manual fuse chart
  • Plastic fuse puller
  • Flashlight

Parts and supplies

  • Identical fuse type and amperage

Before starting

  • The exact circuit and fuse are identified from current vehicle information
  • Vehicle and affected loads are off
Visual procedure

One step at a time

Realistic views show the component and hand action for each step. Exact layout varies by vehicle, so always confirm access in the applicable manual.
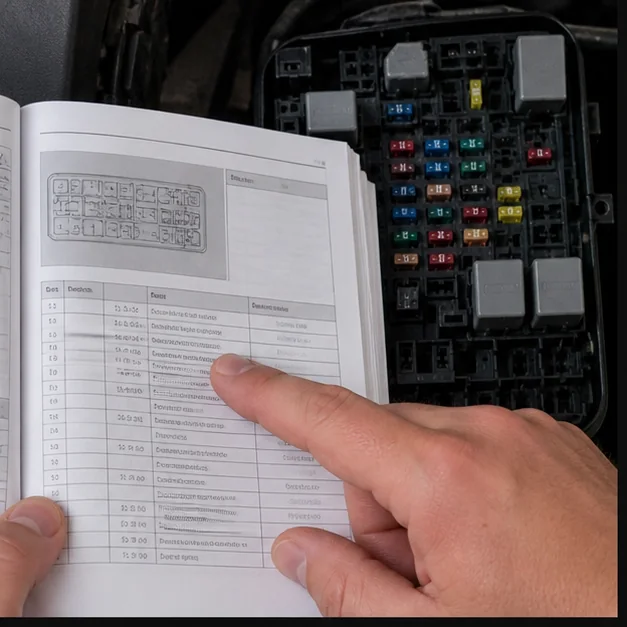
Confirm the correct fuse. Representative view · exact vehicle may differ.
Representative view · exact vehicle may differ
STEP 1

Confirm the correct fuse

Match fuse-box location, label, circuit and rating using the exact owner manual.
CheckpointThe selected fuse—not merely a similar nearby fuse—is confirmed.
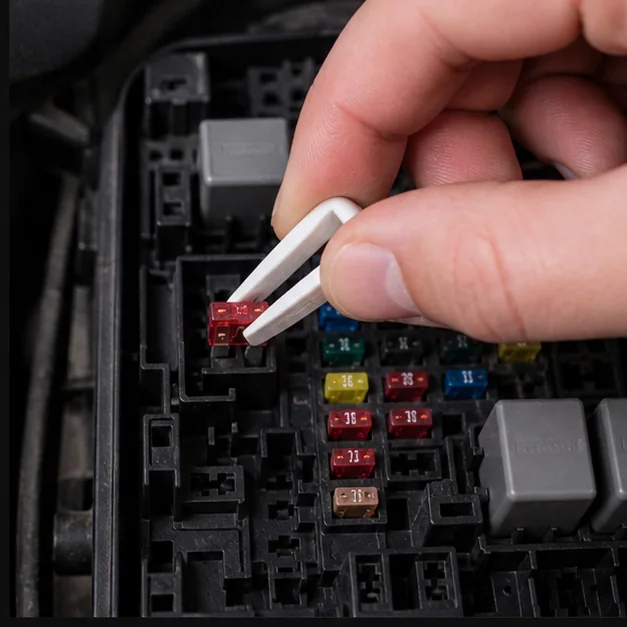
Remove safely. Representative view · exact vehicle may differ.
Representative view · exact vehicle may differ
STEP 2

Remove safely

Switch off the vehicle and affected loads, then use the provided plastic puller on the fuse body.
CheckpointNo metal tool contacts adjacent terminals.
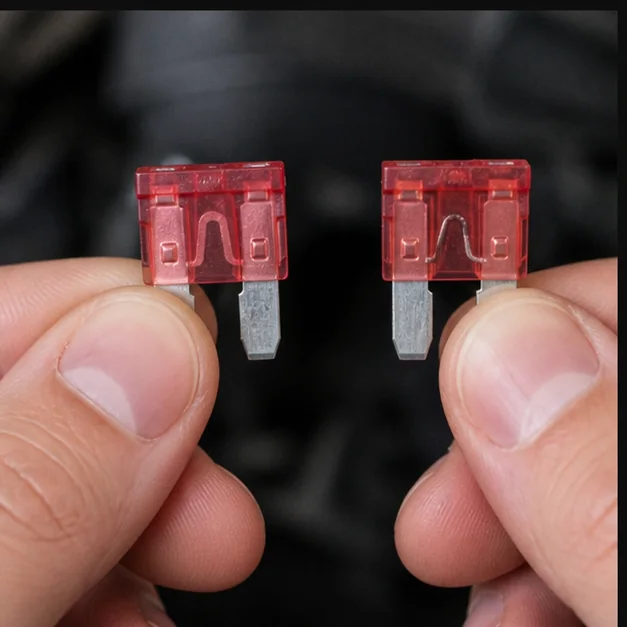
Inspect and replace. Representative view · exact vehicle may differ.
Representative view · exact vehicle may differ
STEP 3

Inspect and replace

Confirm the element is open and install only an identical type and amperage.
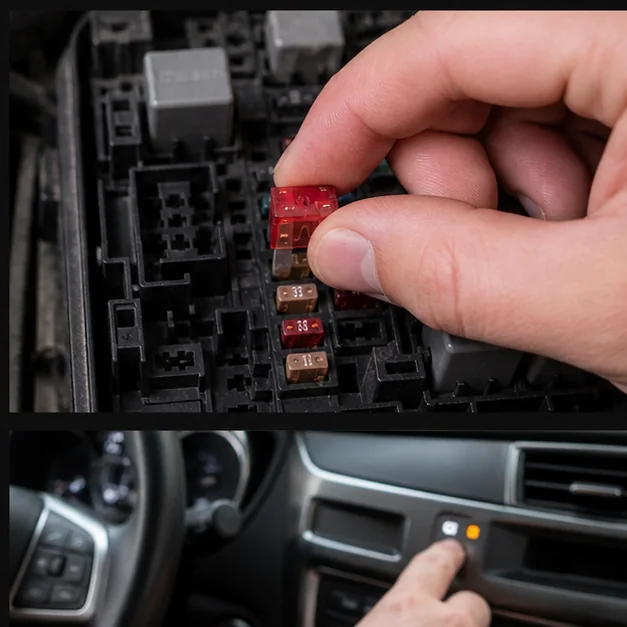
CheckpointThe new fuse is seated to the same depth as adjacent fuses.
Test once. Representative view · exact vehicle may differ.
Representative view · exact vehicle may differ
STEP 4

Test once

Restore power and operate the circuit once while watching for odor, heat or another failure.

CheckpointIf it opens again, stop—the circuit needs diagnosis rather than another fuse.

Post-repair verification

  • Circuit works normally
  • Fuse remains intact
  • No heat, burning odor or repeated failure