basic

Replace the cabin air filter

Restore airflow and filtration when the exact vehicle provides an owner-serviceable filter.

15–35 min3 toolsclimate

Tools

  • Flashlight
  • Trim-safe tool only if the manual calls for it
  • Vacuum for loose debris

Parts and supplies

  • Exact-fit cabin filter with correct airflow direction

Before starting

  • Filter location and owner-service procedure are confirmed
  • Ignition and blower are off
Visual procedure

One step at a time

Realistic views show the component and hand action for each step. Exact layout varies by vehicle, so always confirm access in the applicable manual.
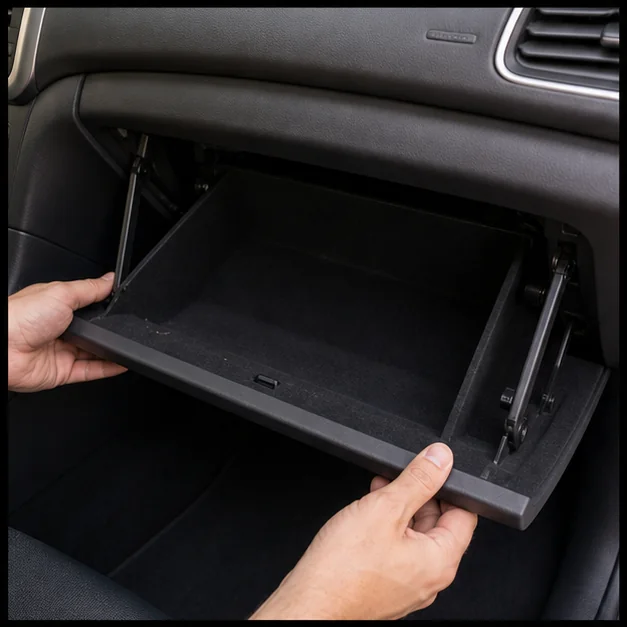
Open the service access. Representative view · exact vehicle may differ.
Representative view · exact vehicle may differ
STEP 1

Open the service access

Follow the vehicle procedure to lower the glove box or open the documented filter cover.
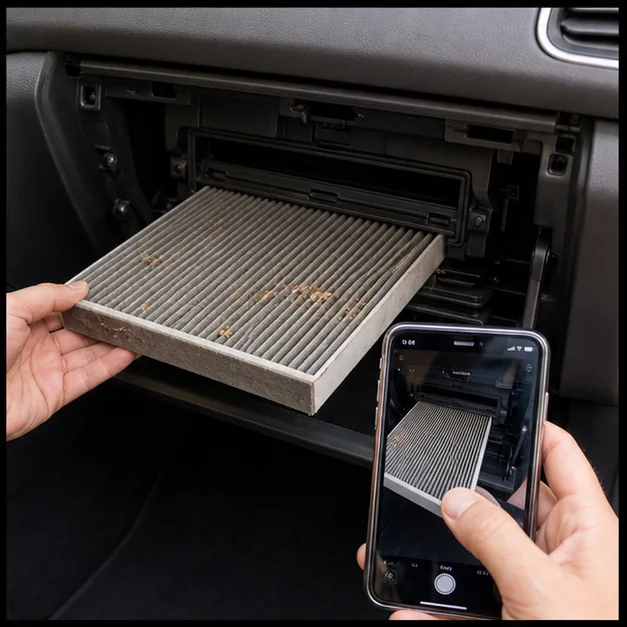
CheckpointNo harness, damper or trim part is under tension.
Record filter direction. Representative view · exact vehicle may differ.
Representative view · exact vehicle may differ
STEP 2

Record filter direction

Photograph the old filter orientation and note the AIR FLOW arrow before removal.
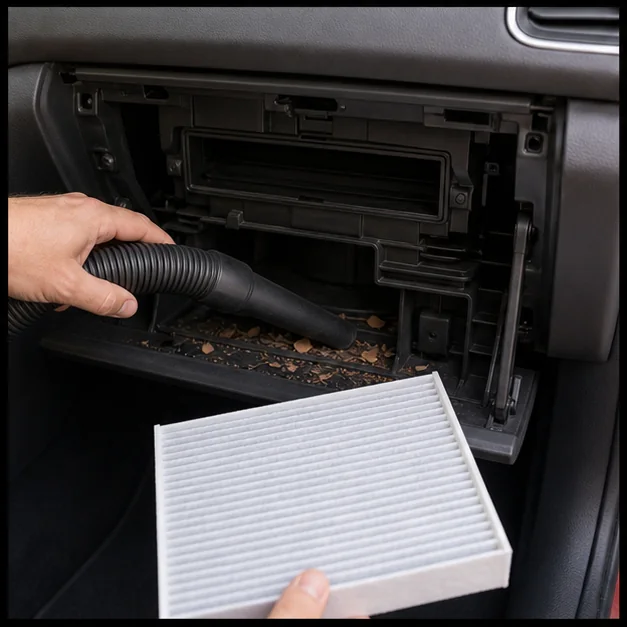
CheckpointThe housing airflow direction is known, not guessed from the UP label.
Clean and install. Representative view · exact vehicle may differ.
Representative view · exact vehicle may differ
STEP 3

Clean and install

Remove loose debris without pushing it into the blower, then slide in the exact-fit filter in the correct direction.
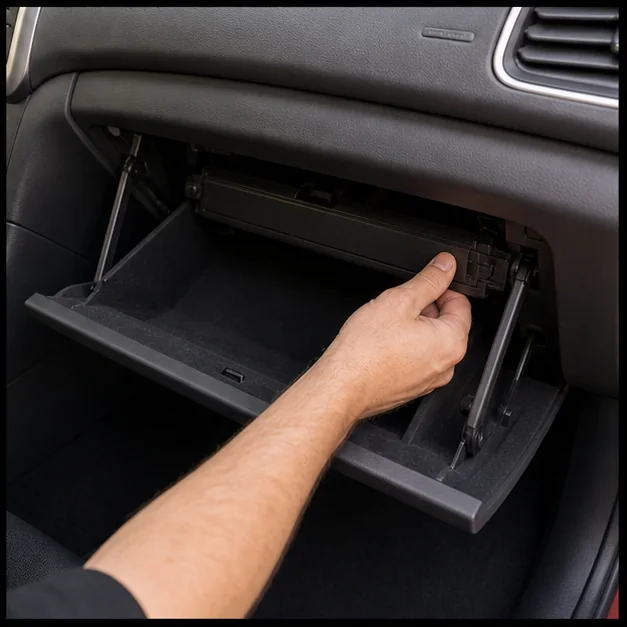
CheckpointThe filter sits flat without buckling or gaps.
Reassemble and test. Representative view · exact vehicle may differ.
Representative view · exact vehicle may differ
STEP 4

Reassemble and test

Latch the cover, restore the glove box and test all blower speeds and outlet modes.

CheckpointAirflow is unobstructed and no trim or blower noise was introduced.

Post-repair verification

  • Filter cover fully latched
  • Glove box operates normally
  • Airflow improves without abnormal noise