basic

Replace a push-on door weatherstrip

Replace a verified removable seal without disturbing airbags, wiring or bonded glass.

30–75 min3 toolsbody

Tools

  • Plastic trim tool
  • Masking tape
  • Clean cloth

Parts and supplies

  • Exact door-position weatherstrip
  • Approved cleaner or adhesive only if specified

Before starting

  • Leak path has been verified
  • Seal is a documented removable service part
Visual procedure

One step at a time

Realistic views show the component and hand action for each step. Exact layout varies by vehicle, so always confirm access in the applicable manual.
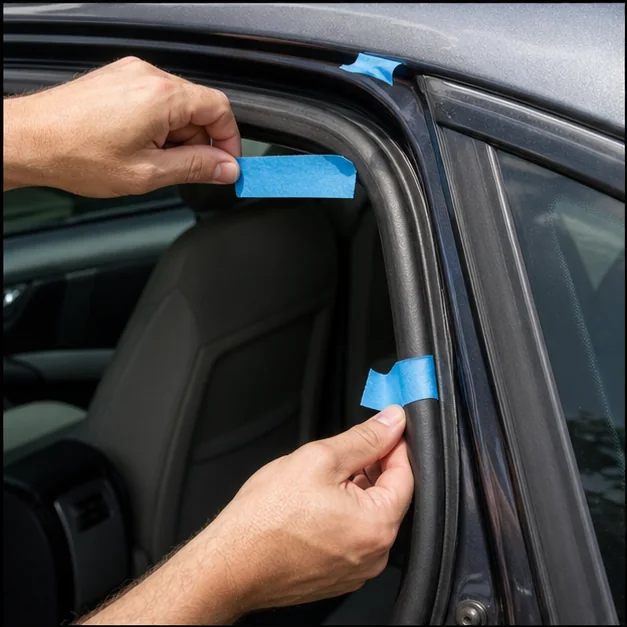
Mark and document. Representative view · exact vehicle may differ.
Representative view · exact vehicle may differ
STEP 1

Mark and document

Photograph joints, molded corners and orientation; mark the starting position with low-tack tape.
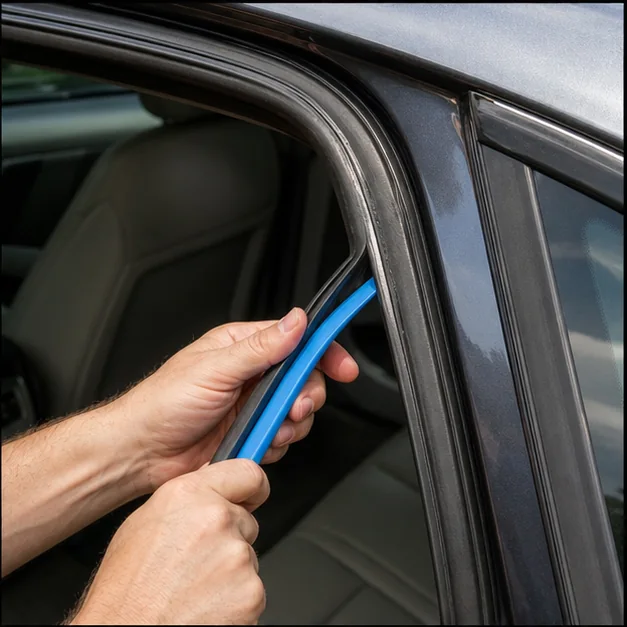
CheckpointThe correct door and exact seal are confirmed.
Remove progressively. Representative view · exact vehicle may differ.
Representative view · exact vehicle may differ
STEP 2

Remove progressively

Release the seal a short section at a time using the documented method, noting clips and adhesive areas.
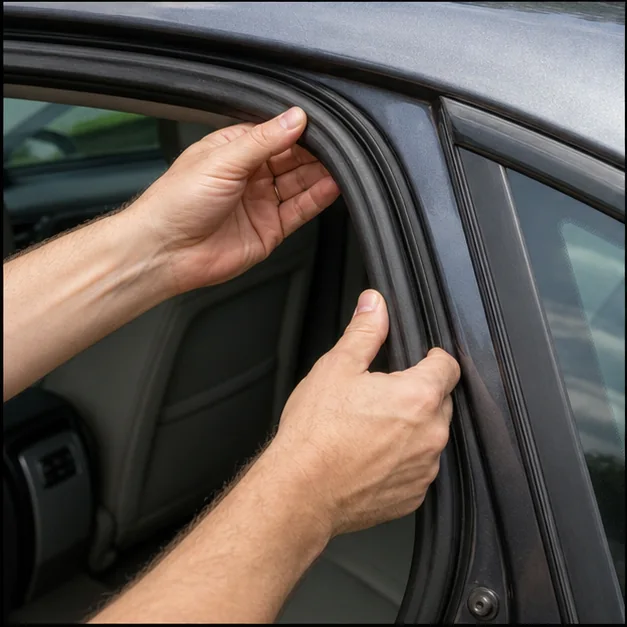
CheckpointPaint, pinch weld and trim remain undamaged.
Clean and install. Representative view · exact vehicle may differ.
Representative view · exact vehicle may differ
STEP 3

Clean and install

Clean the mounting surface with an approved product and seat the new seal from the indexed joint around the opening.
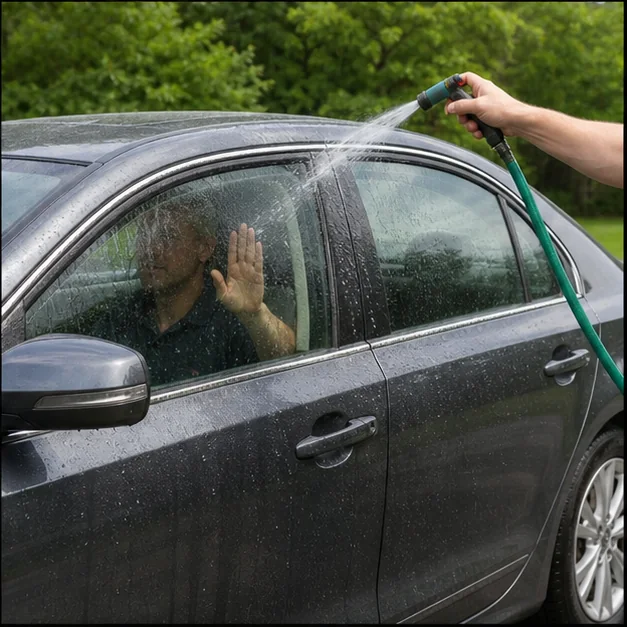
CheckpointCorners are not stretched and every clip or channel is fully engaged.
Verify sealing. Representative view · exact vehicle may differ.
Representative view · exact vehicle may differ
STEP 4

Verify sealing

Close the door gently, check gaps and perform a controlled low-pressure water test with an observer inside.

CheckpointWater is kept away from powered modules and the leak path is verified, not flooded.

Post-repair verification

  • Even door gap and closing effort
  • No folded or stretched seal
  • Controlled water test remains dry