basic

Replace the engine air filter

Replace an accessible dry panel filter while keeping debris out of the intake.

15–30 min3 toolsengine

Tools

  • Flashlight
  • Correct screwdriver or socket if documented
  • Clean lint-free cloth

Parts and supplies

  • Exact-fit engine air filter

Before starting

  • Engine is off, cool and cannot auto-start
  • Correct air-box and replacement filter are confirmed
Visual procedure

One step at a time

Realistic views show the component and hand action for each step. Exact layout varies by vehicle, so always confirm access in the applicable manual.
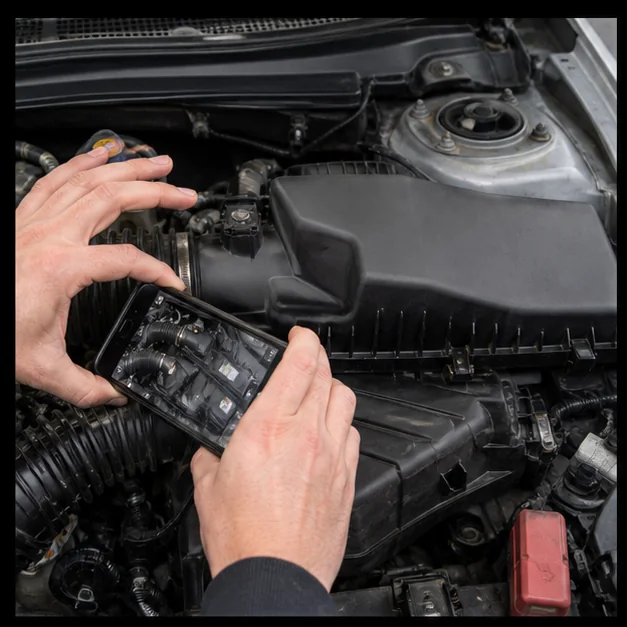
Document the air box. Representative view · exact vehicle may differ.
Representative view · exact vehicle may differ
STEP 1

Document the air box

Photograph clamps, clips, sensors and duct routing before opening only the documented filter cover.
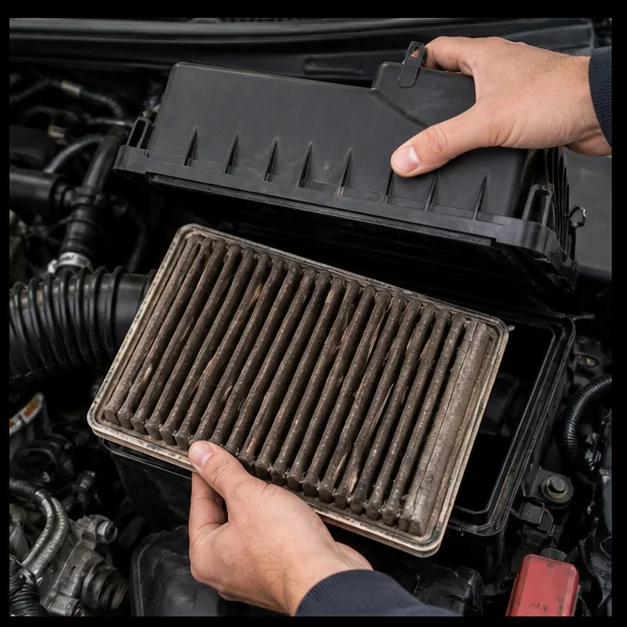
CheckpointNo electrical connector or duct must be forced to gain access.
Remove the old filter. Representative view · exact vehicle may differ.
Representative view · exact vehicle may differ
STEP 2

Remove the old filter

Lift the cover enough to remove the filter while preventing debris from falling downstream.
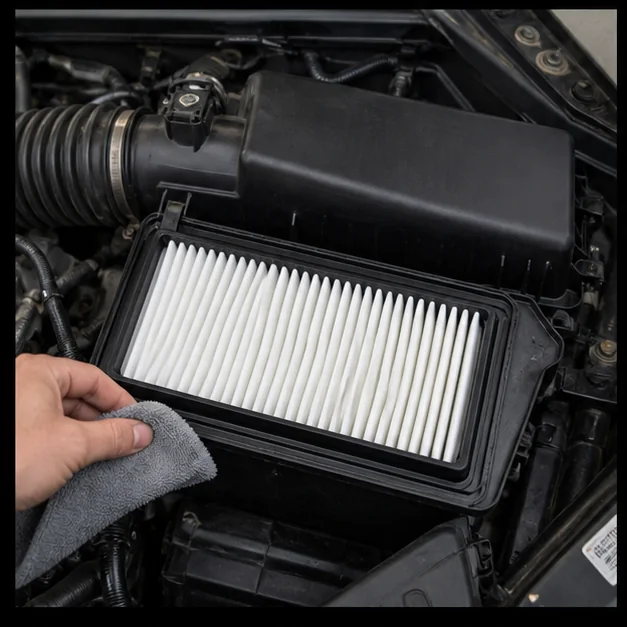
CheckpointThe clean-air side remains free of dirt and foreign objects.
Inspect and install. Representative view · exact vehicle may differ.
Representative view · exact vehicle may differ
STEP 3

Inspect and install

Wipe the sealing ledge, compare dimensions and seat the new filter evenly in its groove.
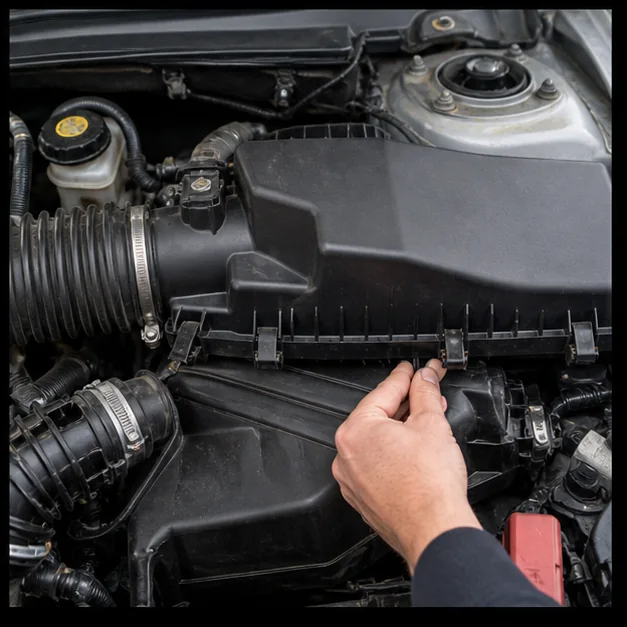
CheckpointThe seal is continuous and the filter is not pinched.
Close the intake. Representative view · exact vehicle may differ.
Representative view · exact vehicle may differ
STEP 4

Close the intake

Secure every clip, fastener and duct clamp and verify any disturbed connector is locked.

CheckpointThe housing closes without excessive force or visible gaps.

Post-repair verification

  • Air box and ducts are sealed
  • No warning light or intake hiss
  • Engine operation is normal