
basic

Replace a damaged fuel cap

Replace a verified damaged or missing cap without treating every EVAP code as a cap failure.

5–10 min1 toolsemissions

Tools

  • Gloves

Parts and supplies

  • Exact emissions-compatible cap for the vehicle and market

Before starting

  • Vehicle uses a removable cap
  • No liquid fuel leak or strong persistent fuel odor is present
Visual procedure

One step at a time

Realistic views show the component and hand action for each step. Exact layout varies by vehicle, so always confirm access in the applicable manual.
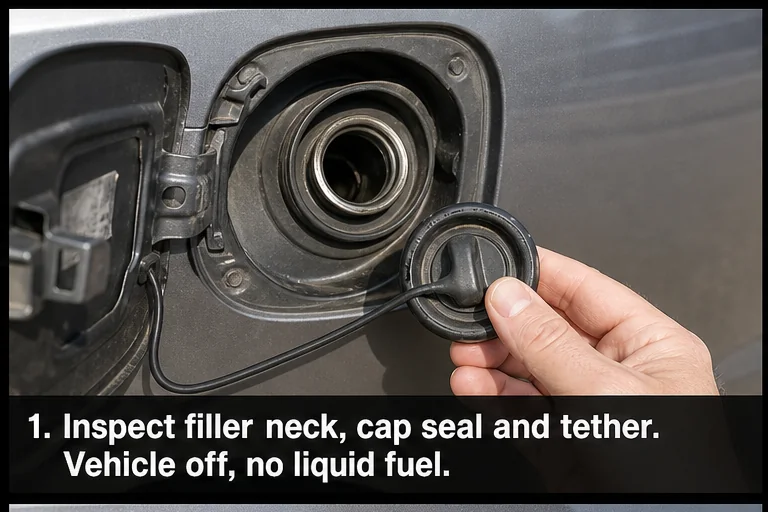
Inspect the filler. Representative view · exact vehicle may differ.
Representative view · exact vehicle may differ
STEP 1

Inspect the filler

With the vehicle off, inspect the cap seal, tether and filler neck for obvious damage or debris.
CheckpointThere is no liquid fuel, severe neck damage or foreign material entering the tank.
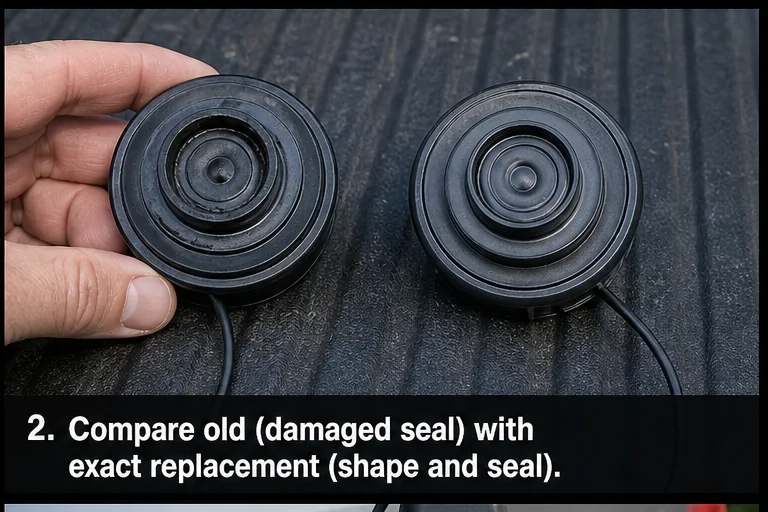
Compare the replacement. Representative view · exact vehicle may differ.
Representative view · exact vehicle may differ
STEP 2

Compare the replacement

Verify fit, seal design, pressure/vacuum specification and emissions compatibility.
CheckpointThe replacement is catalogued for the exact vehicle.
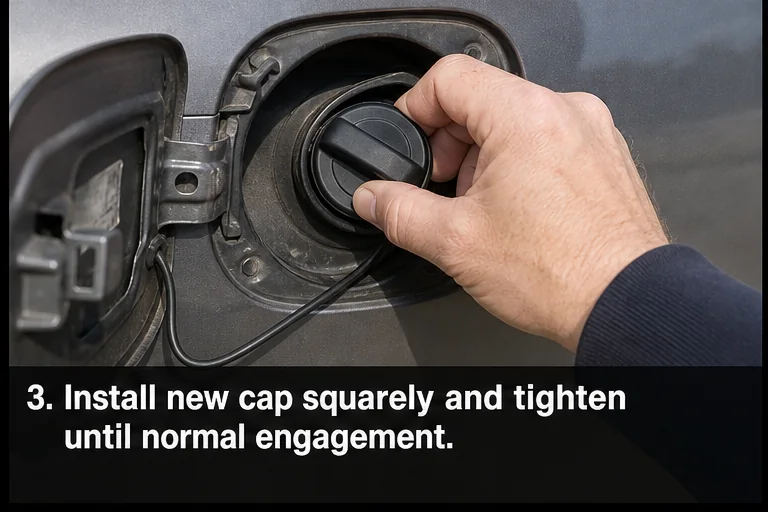
Install fully. Representative view · exact vehicle may differ.
Representative view · exact vehicle may differ
STEP 3

Install fully

Remove the damaged cap and tighten the replacement until its documented engagement is reached.
CheckpointThe cap seats evenly and cannot be removed without releasing it normally.
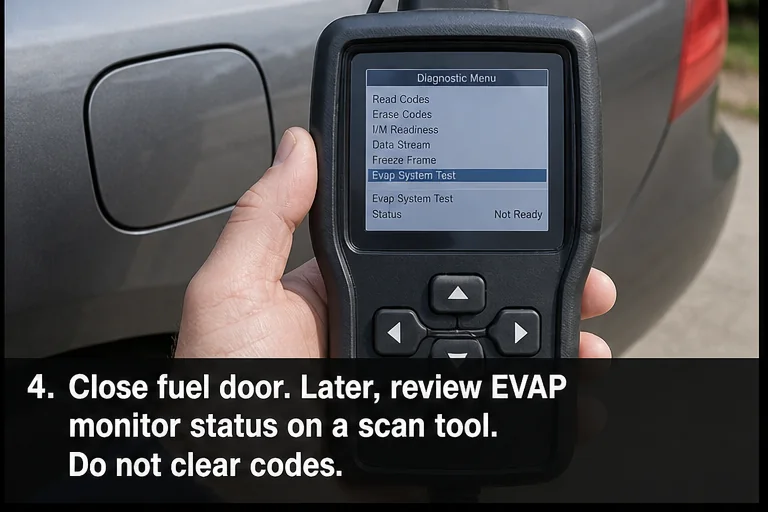
Allow monitor completion. Representative view · exact vehicle may differ.
Representative view · exact vehicle may differ
STEP 4

Allow monitor completion

Do not clear evidence unnecessarily. Drive normally until the EVAP monitor runs or have the system tested if the code returns.

CheckpointA returning code triggers leak-system diagnosis, not repeated cap replacement.

Post-repair verification

  • Cap seals normally
  • No fuel odor or leak
  • EVAP monitor outcome is reviewed