basic

Replace windshield wiper blades

Replace worn blades without allowing the spring-loaded arm to strike the glass.

10–20 min2 toolsbody

Tools

  • Towel or windshield protector
  • Optional small flat trim tool if the blade maker permits it

Parts and supplies

  • Correct-length, correct-connector wiper blades

Before starting

  • Correct blade sizes and connector type are confirmed
  • Wipers are switched off and parked
Visual procedure

One step at a time

Realistic views show the component and hand action for each step. Exact layout varies by vehicle, so always confirm access in the applicable manual.
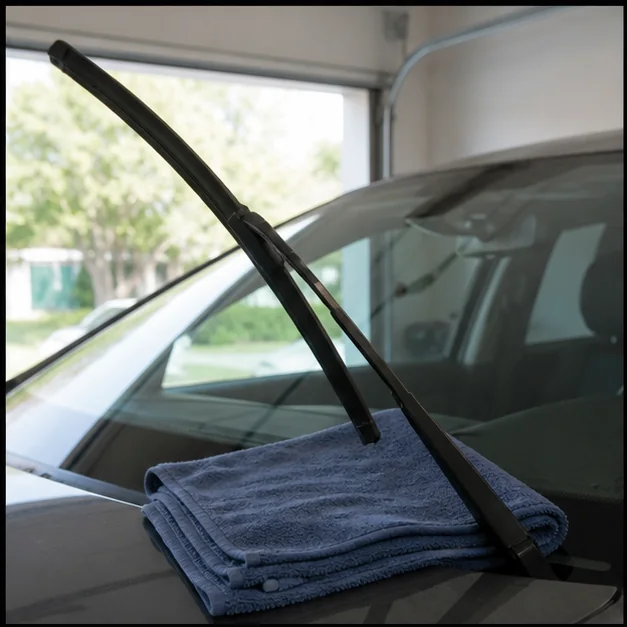
Protect the windshield. Representative view · exact vehicle may differ.
Representative view · exact vehicle may differ
STEP 1

Protect the windshield

Place a folded towel on the glass beneath the arm and lift only as far as the vehicle permits.
CheckpointThe arm is supported and cannot snap onto bare glass.
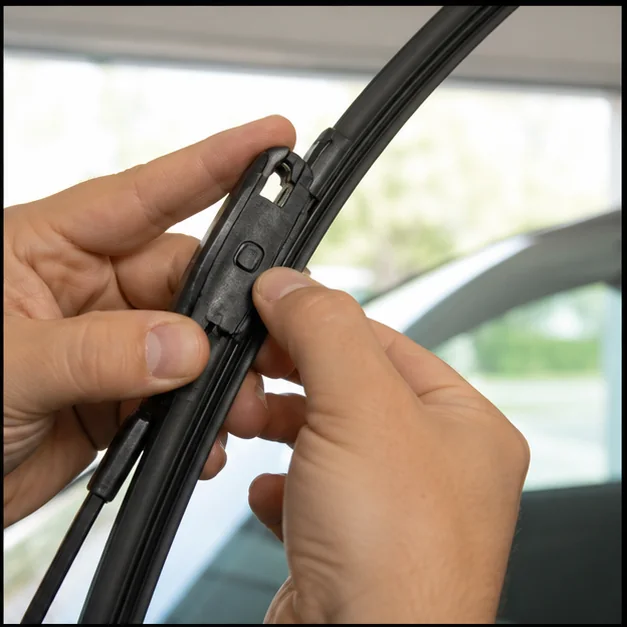
Release the old blade. Representative view · exact vehicle may differ.
Representative view · exact vehicle may differ
STEP 2

Release the old blade

Rotate the blade and operate its documented tab or latch while supporting the arm.
CheckpointThe blade slides free without bending the arm.
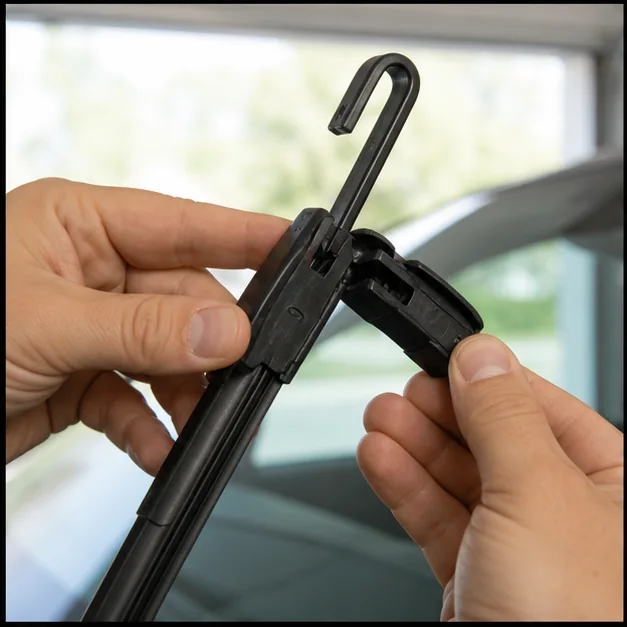
Install the adapter. Representative view · exact vehicle may differ.
Representative view · exact vehicle may differ
STEP 3

Install the adapter

Match the new blade adapter to the arm and slide or rotate it until the latch clicks.
CheckpointA gentle pull does not release the blade.
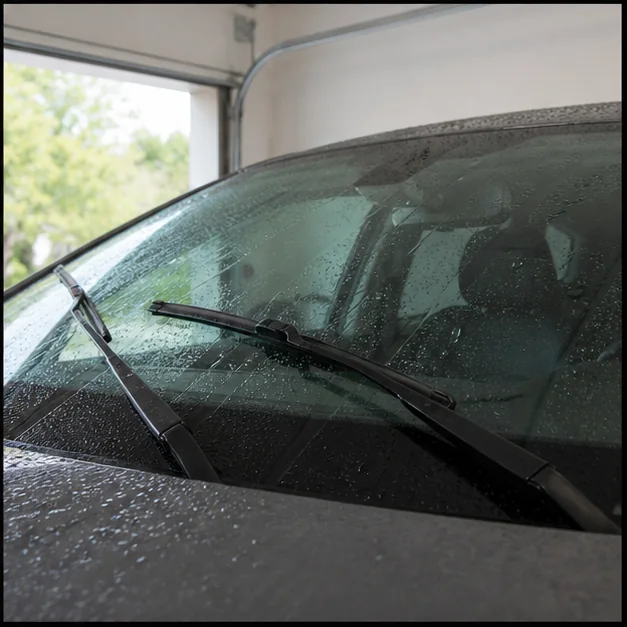
Lower and test. Representative view · exact vehicle may differ.
Representative view · exact vehicle may differ
STEP 4

Lower and test

Lower the arm gently, wet the glass with washer fluid and test at low speed.

CheckpointThe blade clears smoothly without striking trim or another blade.

Post-repair verification

  • Both blades lock securely
  • No skipped area, chatter or collision
  • Washer and park functions work