basic

Refill windshield-washer fluid

Restore washer operation with a climate-appropriate premixed fluid.

5–10 min2 outilsbody

Outils

  • Clean funnel if needed
  • Gloves

Pièces et fournitures

  • Premixed washer fluid rated for local temperatures

Avant de commencer

  • Vehicle is parked and switched off
  • The washer reservoir cap is positively identified
Procédure visuelle

Une étape à la fois

Les vues réalistes montrent le composant et le geste de chaque étape. La disposition exacte varie selon le véhicule; confirmez toujours l’accès dans le manuel applicable.
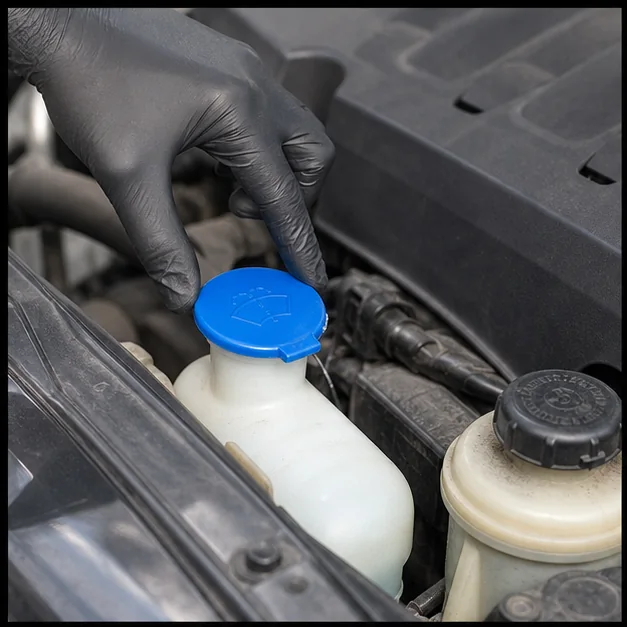
Identify the reservoir. Vue représentative · le véhicule exact peut différer.
Vue représentative · le véhicule exact peut différer
ÉTAPE 1

Identify the reservoir

Use the owner manual and washer-symbol cap to confirm the correct reservoir.
Point de contrôleThe cap has the windshield-spray symbol and matches the manual location.
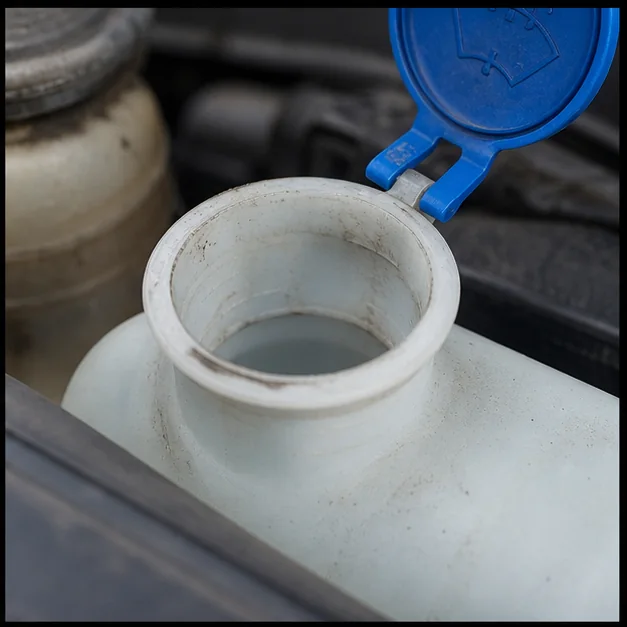
Inspect before filling. Vue représentative · le véhicule exact peut différer.
Vue représentative · le véhicule exact peut différer
ÉTAPE 2

Inspect before filling

Check for an obviously cracked neck, contamination or fluid leaking beneath the vehicle.
Point de contrôleThe reservoir appears intact and contains no unknown fluid.
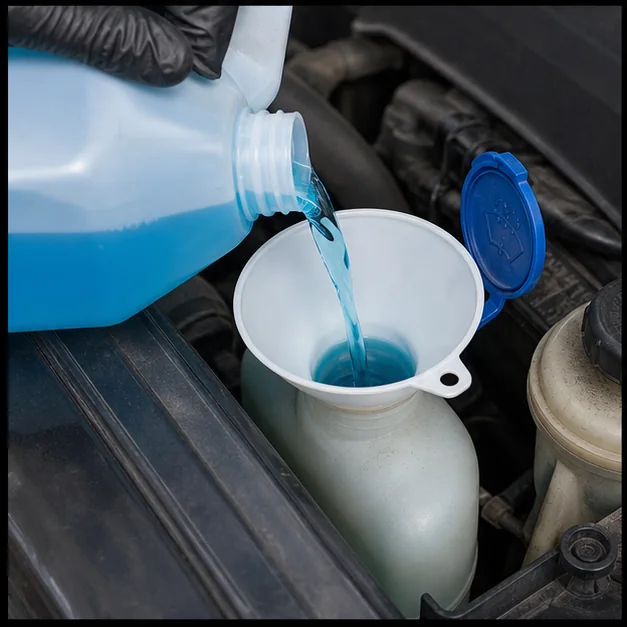
Add approved fluid. Vue représentative · le véhicule exact peut différer.
Vue représentative · le véhicule exact peut différer
ÉTAPE 3

Add approved fluid

Pour premixed washer fluid slowly without overfilling, then secure the cap.
Point de contrôleFluid remains in the reservoir and the cap is fully seated.
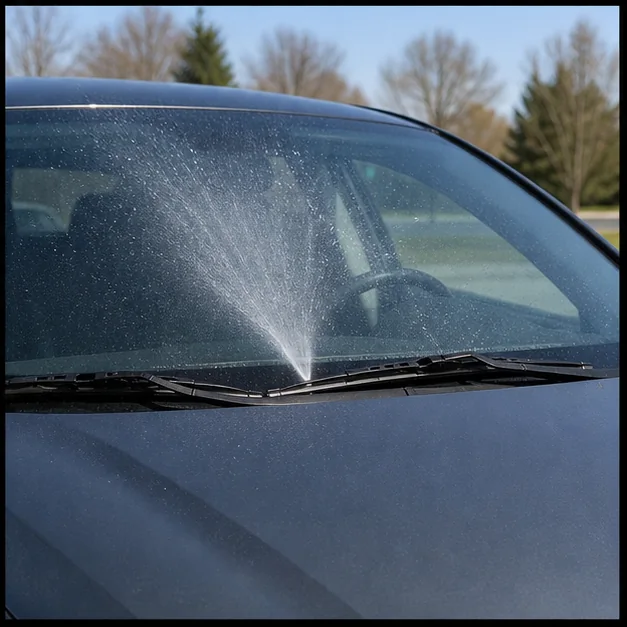
Test the system. Vue représentative · le véhicule exact peut différer.
Vue représentative · le véhicule exact peut différer
ÉTAPE 4

Test the system

With the hood closed and visibility clear, operate the washers briefly.

Point de contrôleBoth spray and wiper action work without a continuing leak.

Vérification après réparation

  • Fluid level remains stable
  • Jets spray the intended glass area
  • No warning remains after the vehicle updates